Changing the account name on Windows 11 can be helpful for both personal and professional reasons. Whether you want to reflect a name change, correct a spelling error, or personalize your PC, Windows 11 provides a few methods to do this. Here’s a step-by-step guide to help you change your account name effectively.
Method 1: Change Account Name via Settings (for Microsoft Account)
If you are using a Microsoft account to sign in to your PC, you need to change your name through Microsoft’s website.
- Open your browser and go to account.microsoft.com.
- Sign in using your Microsoft credentials.
- Click on Your Info at the top of the page.
- Under your name, click the link that says Edit name.
- Enter your new first and last name.
- Complete the CAPTCHA and click Save.
- Restart your computer for the changes to reflect in Windows 11.
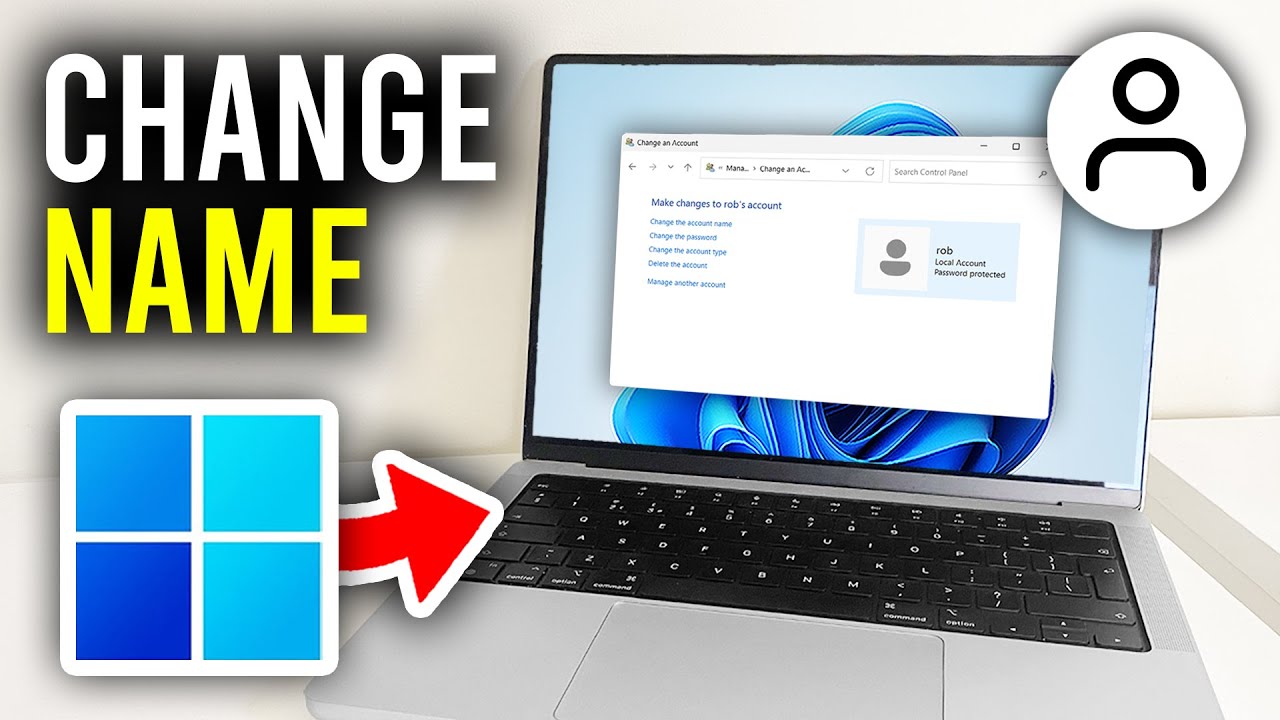
Method 2: Change Local Account Name via Control Panel
For users with a local account, the Control Panel allows you to change the account name easily.
- Press Windows + R keys to open the Run dialog.
- Type
controland press Enter to open the Control Panel. - Click on User Accounts.
- Click on User Accounts again if required.
- Select Change your account name.
- Enter the new name you want and click on Change Name.
- Close the Control Panel and restart your PC to apply changes.
Method 3: Change Local Account Name via Computer Management
This method is suitable for advanced users and is available for Windows 11 Pro or Enterprise editions.
- Press Windows + X and select Computer Management.
- In the left pane, navigate to Local Users and Groups > Users.
- In the middle pane, right-click your user account and select Rename.
- Type the new name and press Enter.
- Close Computer Management and restart the computer.
Method 4: Change Account Name Using Netplwiz
You can also use the Netplwiz tool to change the display name of your local account:
- Press Windows + R to open the Run dialog.
- Type
netplwizand press Enter. - Select your user account and click on Properties.
- In the General tab, change the Full name field.
- Click Apply and then OK.
- Restart your PC to see the new name.
Things to Note
- Changing the account name may not change the user folder name located in
C:\Users. - Microsoft account name changes may take time to reflect across all services.
- You must have administrative privileges to perform these changes.
Conclusion
Whether you’re using a Microsoft or local account, Windows 11 offers multiple ways to update your account name. By following any of the above methods, you can ensure your account reflects your preferred identity. Just remember to reboot your system after making changes to see them fully take effect.